Cable Knit Sweater Card was not on my list of things to create today. I had lots of items to work on in my studio, but this beautiful fall day was a bit of a distraction. I played in the yard with the dogs for a while and returned an escaped (and unhappy) goat back to the pasture. I did finally come back in the house and sat down in my studio to work. Pinterest was my next distraction and I honestly cannot even tell you what I went there searching for, but I found some cute sweater cards made from the new Cable Knit Dynamic Textured Impressions Embossing Folder (that’s a mouthful) from Stampin’ Up and I had to make one.
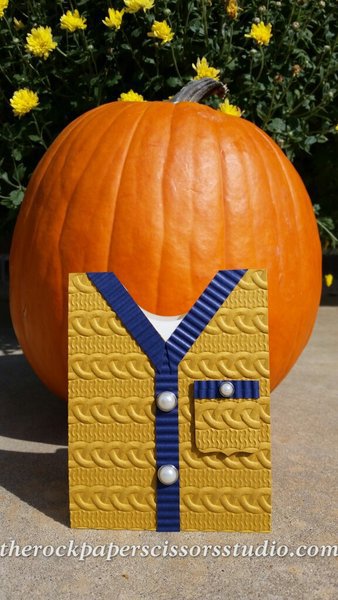
The beautiful weather called me outside again and so I photographed my sweater card next to the pumpkin and mum on my front porch and “voila”…a near perfect fall picture was created. Don’t you love those beautiful fall colors? The bright orange pumpkin makes me so happy! But that sweater card, though. Isn’t it the cutest?! Here’s how I made it…
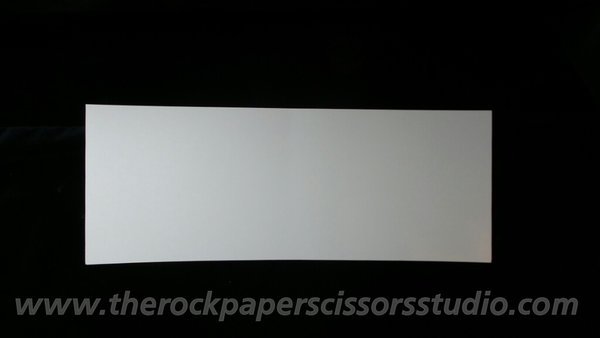
The card base is 11 X 4 1/4”. I used Very Vanilla cardstock. Fold it in half to create your card.
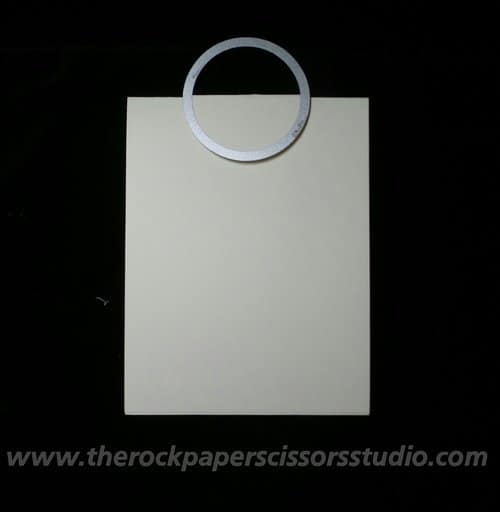
Next I used a 2″ circle framelit to cut a “neckline” from the folded edge of the card base. You can always use a punch for this, but I didn’t have one large enough.
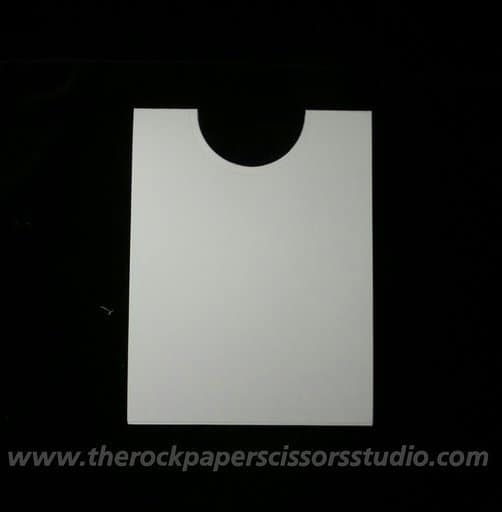
It will look like this when you’re done.
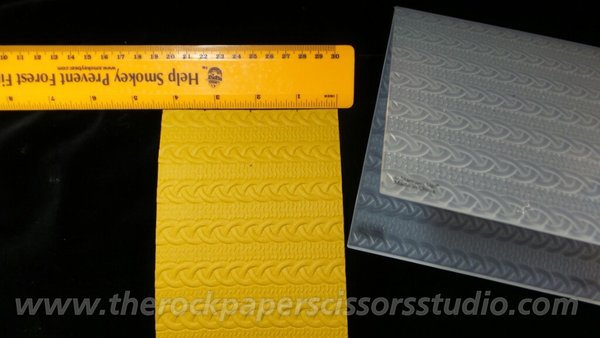
Next I took a piece of Delightful Dijon cardstock that measured 4 1/4 X 5 1/2″ and ran it through the Big Shot using the Cable Knit Dynamic Embossing Folder. REMEMBER that with this Embossing Folder you will only use a cutting pad on the top, not the bottom. It is too thick to use two cutting pads like you normally would. In this picture you can also see that I used a ruler to mark spots on the sweater front. First, I marked the center of the card at 2 1/8″ from either edge. Next I made a mark 1 1/2″ just below this center mark. I also made marks at the top edge 1″ from both sides. To create the sweater neckline, use scissors or your paper trimmer to cut the “V” shape you created with these dots. You will see what I mean in the next step.
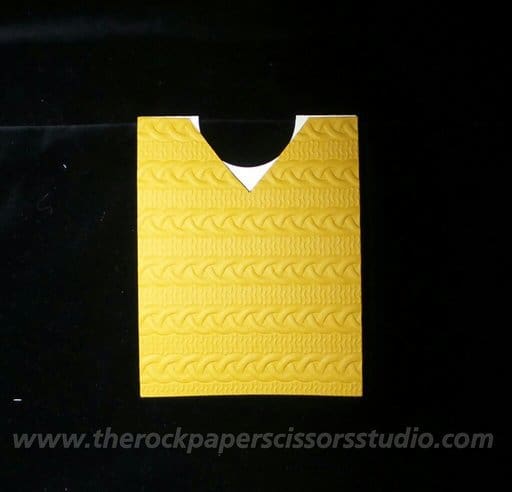
This is how the sweater front looks when placed over the card base. We’ll take our paper snips and trim those two triangles along the top edge that stick out from the sweater. (You’ll see it in the final picture.)
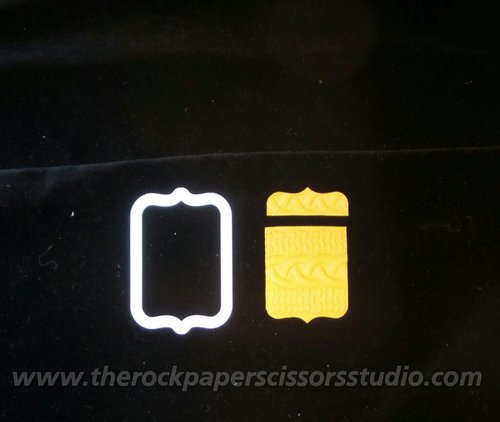
Use any punch or framelit that you have to create a “pocket-shaped” piece of cardstock. The framelit I used is from the retired Chalk Talk framelits. You can see that I ran it through the embossing folder after it was die cut, and that I trimmed off the upper edge to make it look more like a pocket.
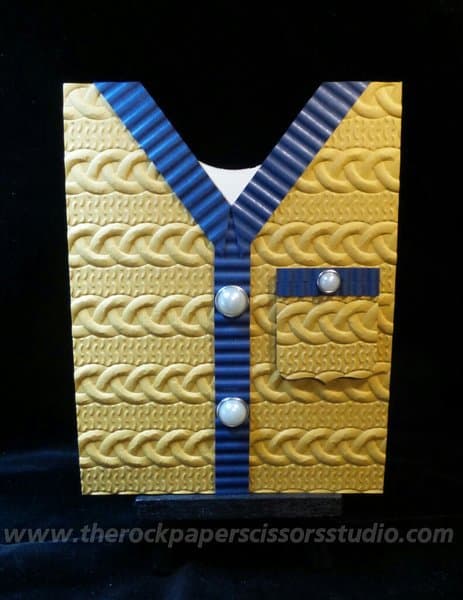
Next, I grabbed my paper crimper and created the contrasting color trim for the sweater. I also pulled out some self adhesive silver rimmed pearls to use for buttons. You can check out the placement for the trim and the buttons on the final card. 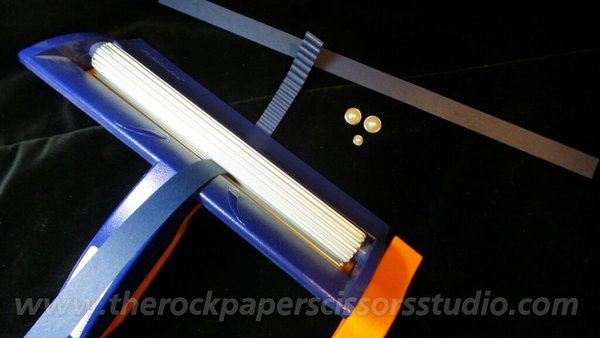 I used Tombo Multipurpose Liquid Adhesive to attach the trim to the sweater and the sweater to the card. The pocket was attached with Stampin’ Dimensionals. Here’s a last look at the finished project…
Cable Knit Sweater Card
I chose fall colors for this card, but my next one will be a Christmas sweater! It was so much fun to make. I hope you’ll try your hand at creating a Cable Knit Sweater Card too.