Hot Glue Embossing is a new technique for me. I love the results I get with it and it uses an ordinary craft tool in a fun new way. Here’s a peek at my projects so far…
These eye catching details were created with my hot glue gun! Here’s how you accomplish this technique…
- Preheat your hot glue gun until the glue flows freely from it.
- Use the glue gun to create a design on your cardstock or water color paper.
- Working quickly so the glue doesn’t dry too much, cover the hot glue design with embossing powder.
- Use a heat tool to set the embossing powder. Be sure to heat it until it is shiny all over. Do not overheat, or your image will loose some of its shine.
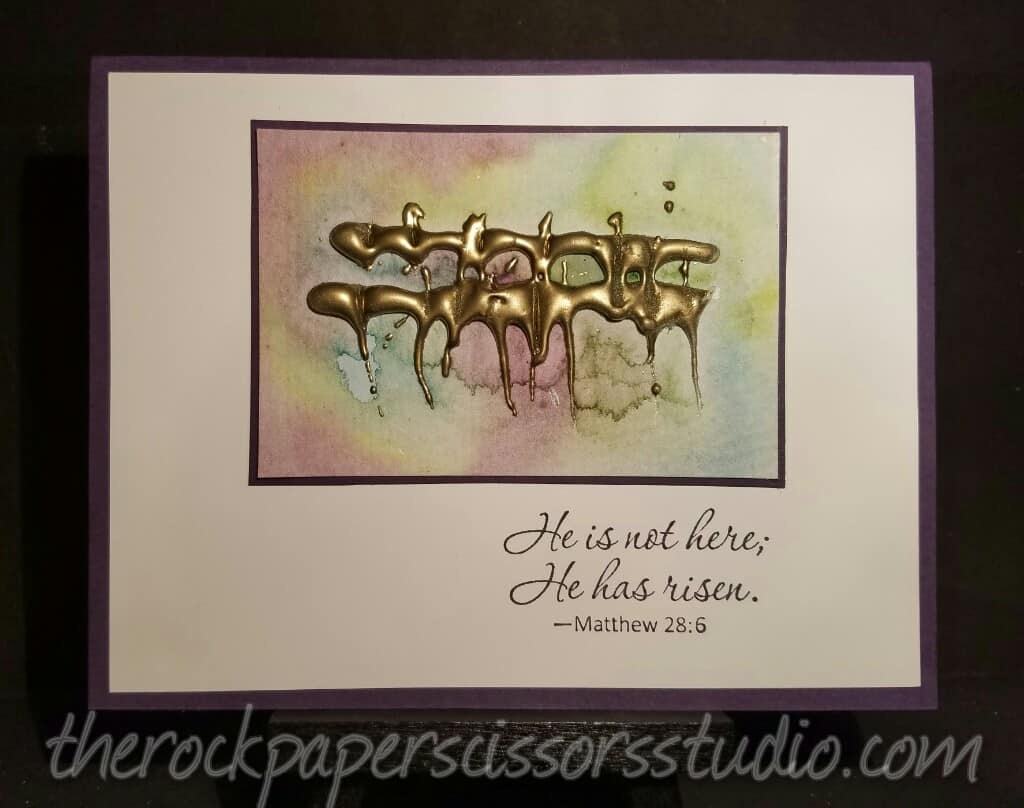
On the first card I showed you, I used Stampin’ Up’s gold embossing powder. I created two horizontal lines on my water color paper and ran a toothpick down through the lines vertically prior to putting the embossing powder on the glue. After embossing it with the heat tool and letting it cool, I used my AquaPainters and Stampin’ Up classic ink to water color around the detail.
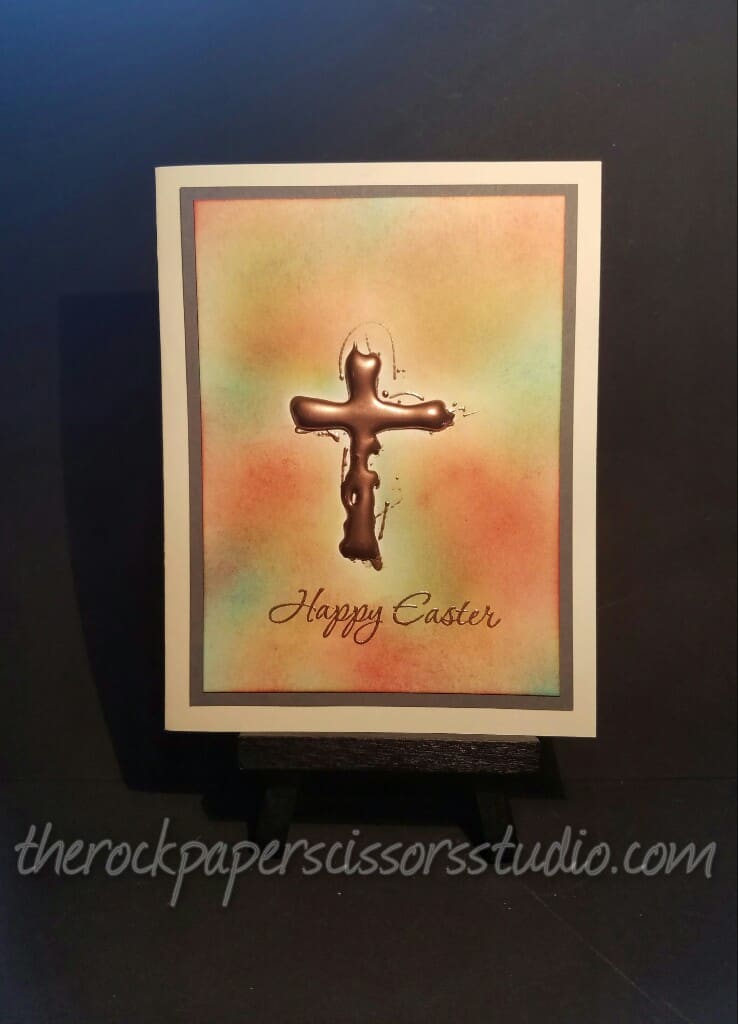
On the cross card, I used copper embossing powder. After embossing with the heat tool, I sponged around the cross using Stampin’ Up classic ink. Once you have finished sponging, simply wipe away any ink that may have gotten on your hot glue embossed image.
Both cards have sentiments stamped from the Easter Message stamp set that is found in the 2017 Occasions catalog. I will be sharing some other cards created with this stamp set later this week. So check back soon!
I love finding new ways to use my basic craft tools. Somehow it feels like you are getting more for your money. 🙂 I hope you will give Hot Glue Embossing a try. And if you like what you saw here, please share our post on Facebook so others can try this out too!